
Hello, dear readers! If you've encountered a problem when updating your GitLab server from repositories, this post is for you. Especially if you face an error related to the need to perform updates through intermediate versions, like this:
gitlab preinstall: It seems you are upgrading from 16.1 to 16.4.
gitlab preinstall: It is required to upgrade to the latest 16.3.x version first before proceeding.
gitlab preinstall: Please follow the upgrade documentation at https://docs.gitlab.com/ee/update/index.html#upgrade-paths
Such a situation means that you'll need to install updates in a strict sequence.
In this guide, we'll discuss how to do it correctly.
0. Backup your system.
1. Familiarize yourself with the recommended upgrade path using the link mentioned in the error message.
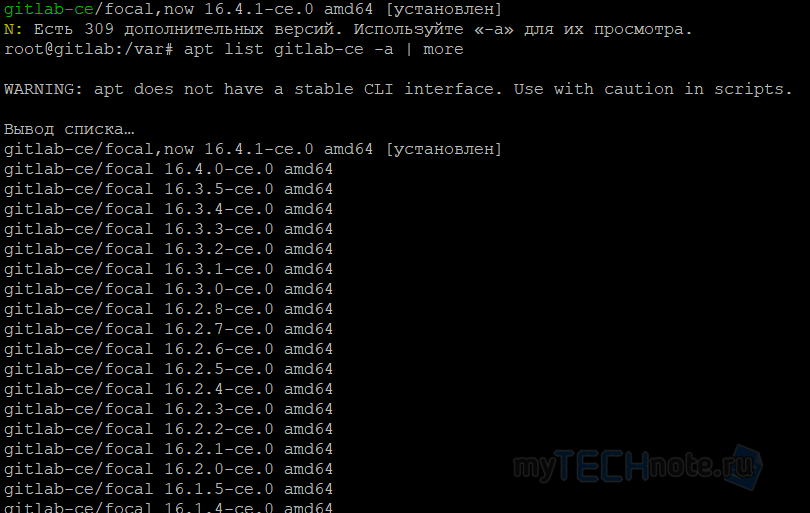
2. Find the current and all available package versions in the repository using the command:
apt list gitlab-ce -a
In some cases, the following command might be useful:
apt-cache madison gitlab-ce
3. Install the required version using the command:
apt install gitlab-ce=16.1.0-ce.0
Replace it accordingly with the package version you need.
4. Repeat the update process until your system is up to date.
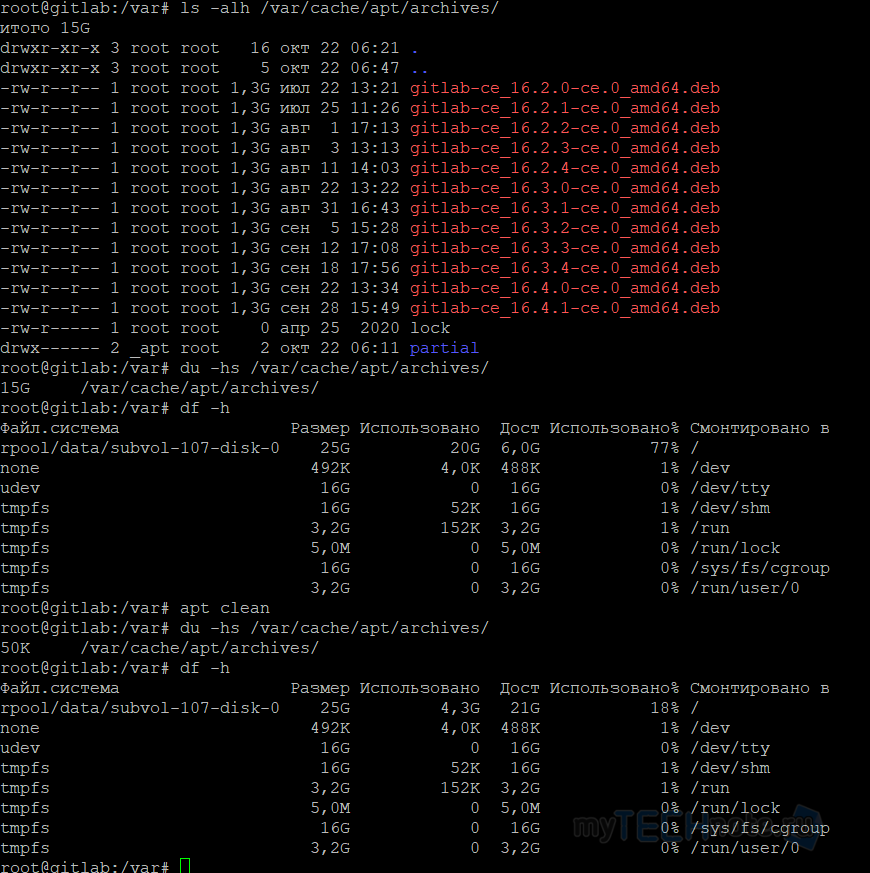
5. Once the process is finished, if your server has limited volume partitions, you can run the command
apt clean
to free up space occupied by cached gitlab-ce packages.
Share the article with your friends in social networks, maybe it will be useful to them.
If the article helped you, you can >>thank the author<<