If you often deploy virtual machines with Windows OS, then most likely it takes you a very long time to download, install updates, install a minimal set of software. Below I will show how you can prepare a system image using the sysprep utility, so that you will have a virtual disk that you just need to copy, connect it to a new virtual machine and you will get a completely ready-to-use virtual machine.
First you need to prepare a virtual machine, that will becomme a template in future. Install OS on it. Install updates, soft, firewall settings, turn on remote access and so on.
Agter everyting is ready, run the command with administrator rights in command prompt:
C:\Windows\System32\Sysprep\sysprep.exe
A window will appear as in the screenshot below:

Here you should select OOBE, check the Generalize checkbox, and select Shutdown in the shutdown parameters.
Click OK. As soon as machine will be prepared it will turn off.

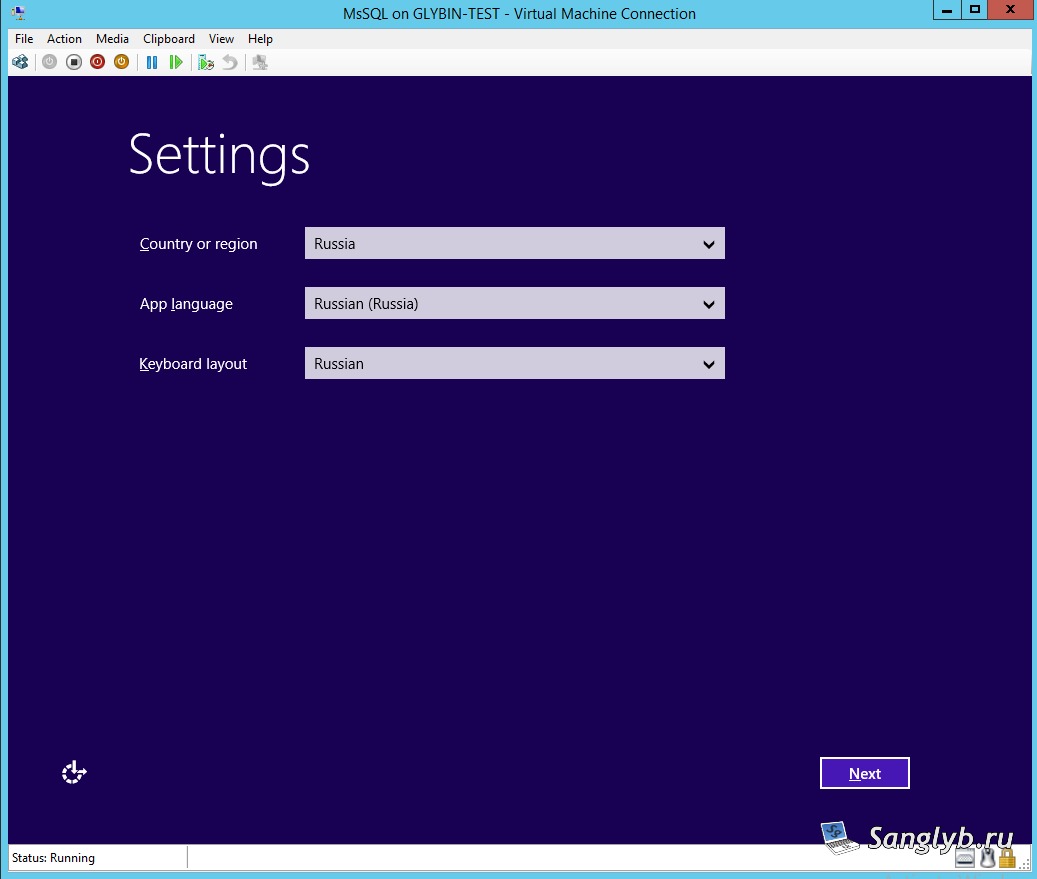
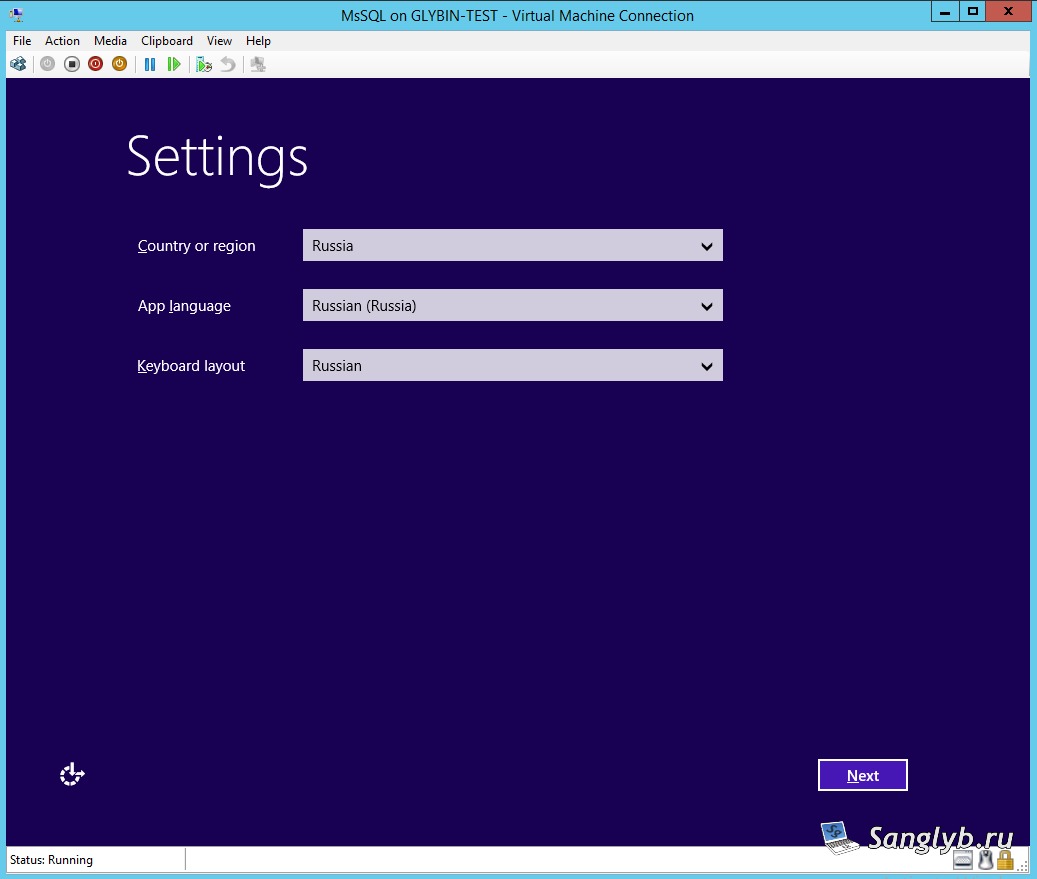
Now you can copy virtual disk of that machine and connect it to the other, new machine. During first start you shoult agree with license and select your region.
And enter the password for Administrator account.
After that, the computer will be completely ready, it will save the settings that you had made on the template.
In order not to constantly go through the last three steps, the sysprep utility can specify an answer file - unattend.xml
To automatically accept the terms of the license agreement, select the region, layout and automatically set the administrator password. This file should have the following content:
<?xml version="1.0" encoding="utf-8"?> <unattend xmlns="urn:schemas-microsoft-com:unattend"> <settings pass="generalize"> </settings> <settings pass="specialize"> <component name="Microsoft-Windows-Shell-Setup" processorArchitecture="amd64" publicKeyToken="31bf3856ad364e35" language="neutral" versionScope="nonSxS" xmlns:wcm="http://schemas.microsoft.com/WMIConfig/2002/State" xmlns:xsi="http://www.w3.org/2001/XMLSchema-instance"> <TimeZone>Russian Standard Time</TimeZone> <!-- можно задать ключ продукта, что бы потом не вводить его --> <!-- <ProductKey>ABCD1-ABCD1-ABCD1-ABCD1-ABCD1</ProductKey> --> </component> </settings> <settings pass="oobeSystem"> <component name="Microsoft-Windows-International-Core" processorArchitecture="amd64" publicKeyToken="31bf3856ad364e35" language="neutral" versionScope="nonSxS" xmlns:wcm="http://schemas.microsoft.com/WMIConfig/2002/State" xmlns:xsi="http://www.w3.org/2001/XMLSchema-instance"> <InputLocale>ru-RU</InputLocale> <SystemLocale>ru-RU</SystemLocale> <UILanguage>ru-RU</UILanguage> <UserLocale>ru-RU</UserLocale> </component> <component name="Microsoft-Windows-Shell-Setup" processorArchitecture="amd64" publicKeyToken="31bf3856ad364e35" language="neutral" versionScope="nonSxS" xmlns:wcm="http://schemas.microsoft.com/WMIConfig/2002/State" xmlns:xsi="http://www.w3.org/2001/XMLSchema-instance"> <OOBE> <NetworkLocation>Work</NetworkLocation> <ProtectYourPC>1</ProtectYourPC> <HideEULAPage>true</HideEULAPage> </OOBE> <UserAccounts> <AdministratorPassword> <Value>VerySecret1</Value> <PlainText>true</PlainText> </AdministratorPassword> </UserAccounts> </component> </settings> </unattend>
Save it to the c:/windows/system32/sysprep folder ant run commands in command prompt with admin rights:
cd c:\windows\system32\sysprep
sysprep.exe /generalize /oobe /unattend:unattend.xml /shutdown
After that, when you will copy this hard disk and add it to a new virtual machine, you will not need to enter anything at all, and you will not need to select anything either.
In general, you can enter a huge number of parameters into the unuttend.xml file, there is a set of utilities - WAIK, respectively, you can download the utilities and read about the answer file on the Microsoft website.
All of the above, by the way, can be used not only on virtual machines, but also on quite physical ones, if you will take a full copy of a hard disk.
Share the article with your friends in social networks, maybe it will be useful to them.
If the article helped you, you can >>thank the author<<