

Most VPS hosting providers use default English OS templates for virtual machines, lacking Russian language support. This can be problematic if you need to edit documents with Russian characters on an English Ubuntu setup.
A similar situation can arise during automated Ubuntu installations, such as in VMWare Workstation.
To enable Russian language support and Russify your system, follow these commands:
sudo su
apt-get update
apt-get upgrade
apt-get install language-pack-ru
dpkg-reconfigure locales
dpkg-reconfigure keyboard-configuration
dpkg-reconfigure console-setup
echo 'FRAMEBUFFER=Y' >> /etc/initramfs-tools/initramfs.conf
update-initramfs –u
reboot now
In summary:
Connect as the superuser.
sudo su
Update and upgrade packages.
apt-get update
apt-get upgrade
Install the Russian language pack.
apt-get install language-pack-ru
Reconfigure locales.
dpkg-reconfigure locales
Check ru_RU.UTF8
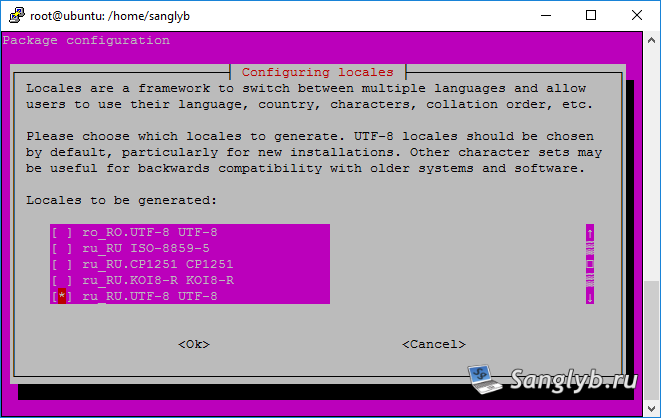
Check ru_RU.UTF-8 as default.
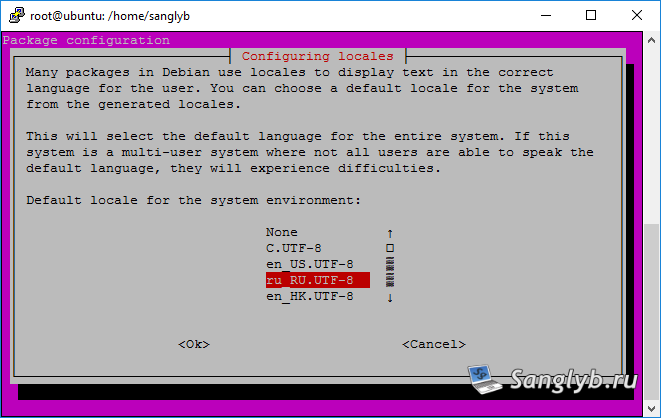
To check the current locale, use:
cat /etc/default/locale
It should look like this:
#  File generated by update-locale
LANG=ru_RU.UTF-8
#LANGUAGE="en_US:"
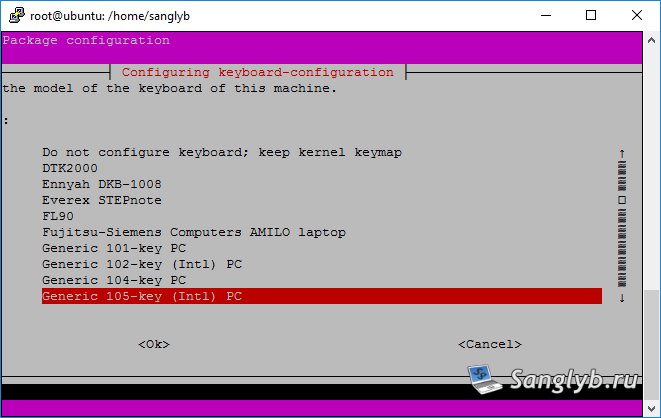
Reconfigure keyboard settings.
dpkg-reconfigure keyboard-configuration
Select generic 105-key keyboard.
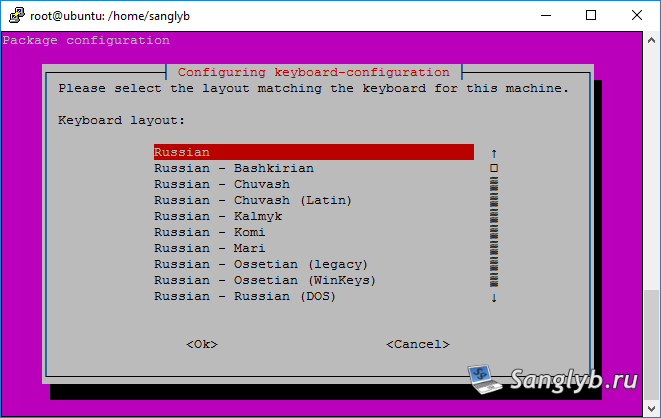
Choose your country.

Select the Russian layout.
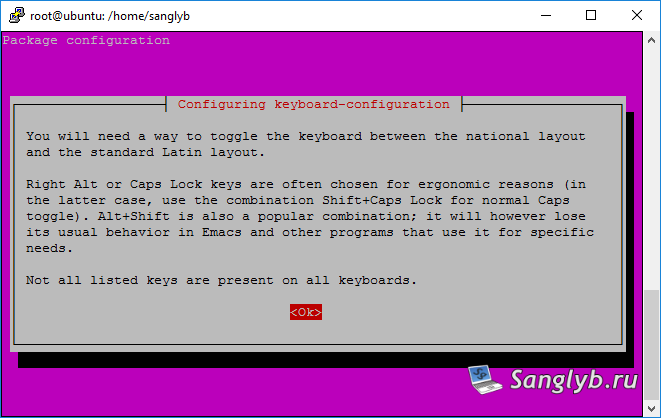
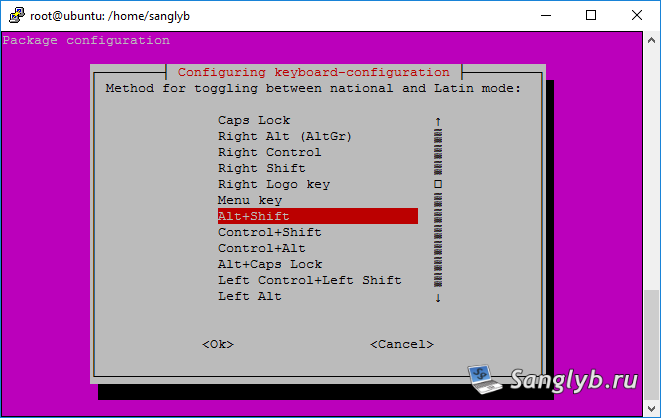
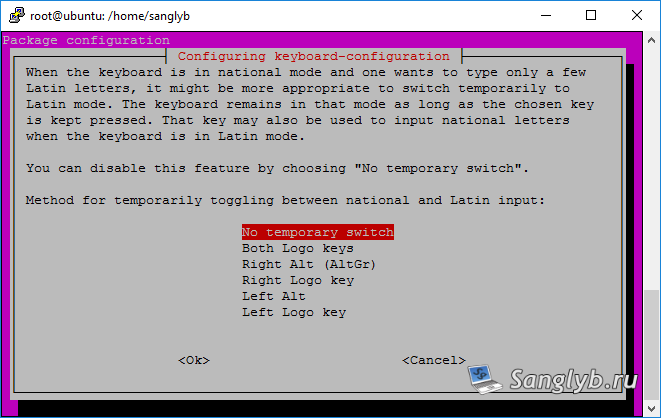
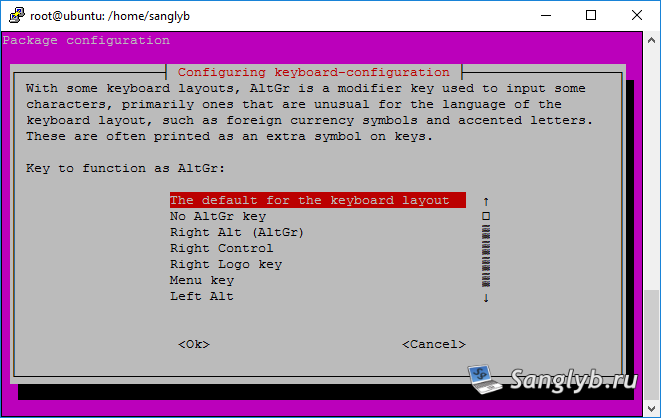
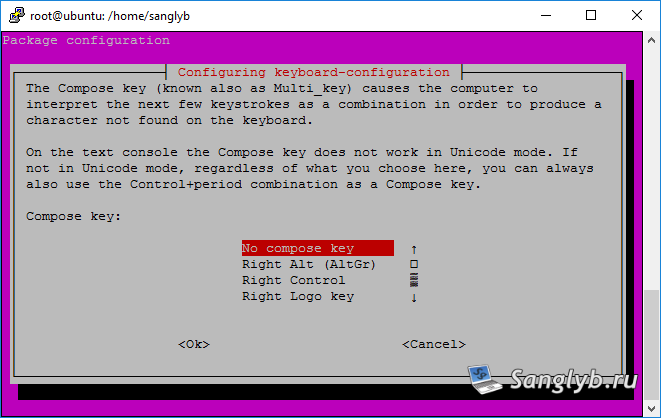
Choose your prefered toggling method.
The other parameters may be left as is.
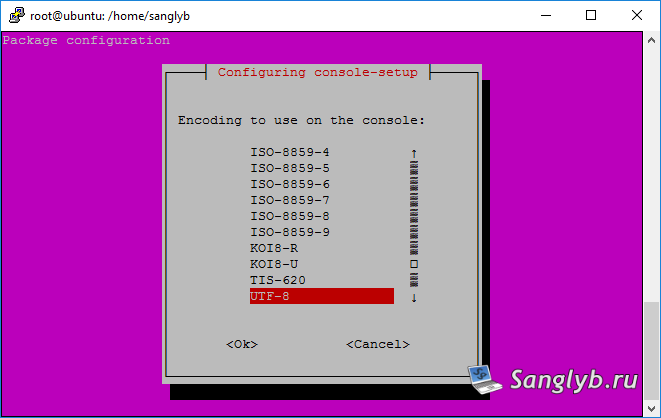
Reconfigure console settings.
dpkg-reconfigure console-setup
Select UTF-8.
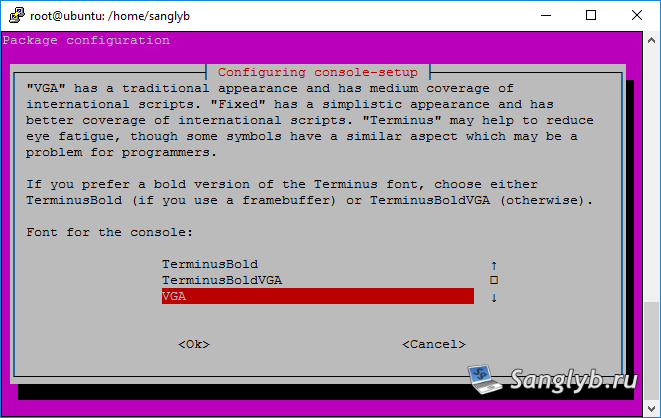
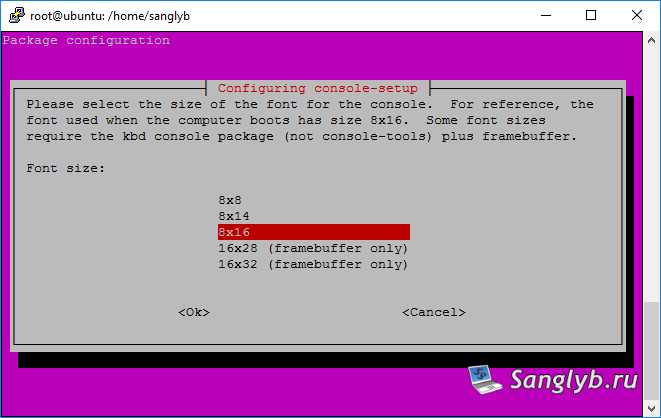
Choose "guess the optimal character set".

The remaining settings should be left as is.
Enable framebuffer.
echo 'FRAMEBUFFER=Y' >> /etc/initramfs-tools/initramfs.conf
update-initramfs –u
Reboot your system.
reboot now
Your Ubuntu Server is now Russified.
Share the article with your friends in social networks, maybe it will be useful to them.
If the article helped you, you can >>thank the author<<