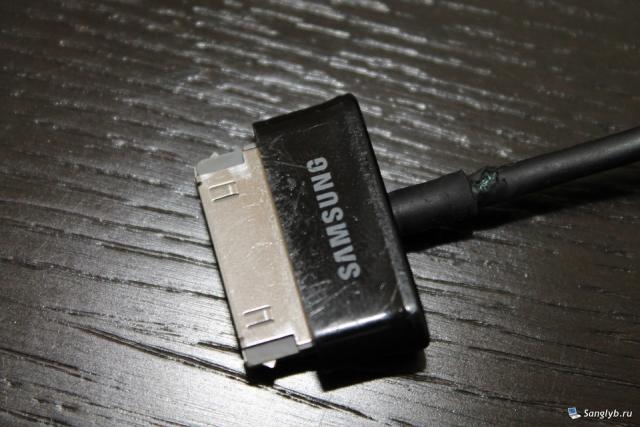
Having trouble with your Samsung Galaxy Tab 2 charging cable? It’s a common complaint; many users find the tablet's charging port, situated at the bottom, to be less than ideal for durability. But before you rush off to buy a pricey replacement, whether original or a third-party version, consider a DIY repair. This guide walks you through the process.
Tools You'll Need for Repair
- Soldering iron
- Flux or rosin
- Small flat screwdriver
- Side cutters
- Insulating tape
- Solder
- Samsung Galaxy Tab 2 charging cable
Opening the Charging Cable
- Begin with the connector side and gently pry off the plate, which should come off easily.
- Next, remove the plastic cover and casing, applying a bit of force.
- Carefully peel off the protective sticker.
Identifying and Fixing the Issue
- Unfold the metal casing around the latches and then bend them back.
- Insert the screwdriver into the "ears" on the plastic connector body, pulling out the metal section afterward.
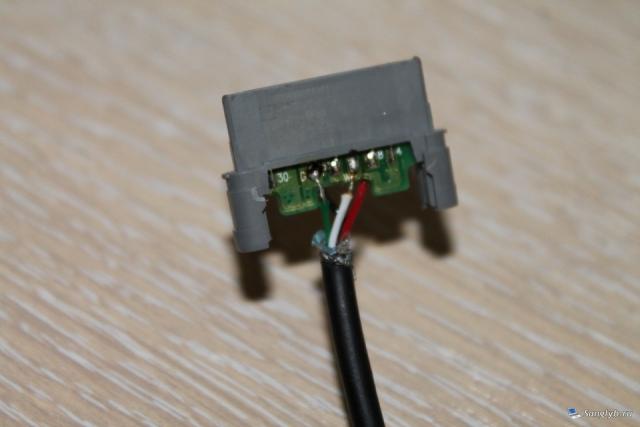
- You'll see an orange tape; remove it to view the board. If you have the original cable, it will display which wire should be soldered where. Note any disconnections; in this case, two wires were found disconnected.
- For non-original cables, a wiring diagram might be handy.

Reassembling and Testing
- Desolder any damaged wire, prepare the wire, and then solder back to the board.
- Reassemble by following the disassembly steps in reverse. Don't forget to insulate, especially if the original tape doesn't stick. Pro Tip: Blue insulating tape works wonders!
- For added stability, wrap several turns of insulating tape and secure with super glue where the wire meets the plastic body.
Done right, your Samsung Galaxy Tab 2 charging cable should be as good as new. This method saves you money and extends the life of your accessories. Experienced a different issue with your tablet or its accessories? Drop your thoughts in the comments below, and let's help each other out!
Share the article with your friends in social networks, maybe it will be useful to them.
If the article helped you, you can >>thank the author<<


