
Is your Samsung Galaxy Tab 2 feeling sluggish lately? Don't worry; you're not alone. In this comprehensive guide, we'll walk you through the steps to turbocharge your tablet's performance by installing CyanogenMod, a custom firmware. However, keep in mind that this process may affect your device's serial number and app functionality. Proceed with caution.
Before You Begin: Secure Your Data
Before we dive into the world of CyanogenMod, safeguard your vital data like contacts and photos. Let's begin with creating a backup.
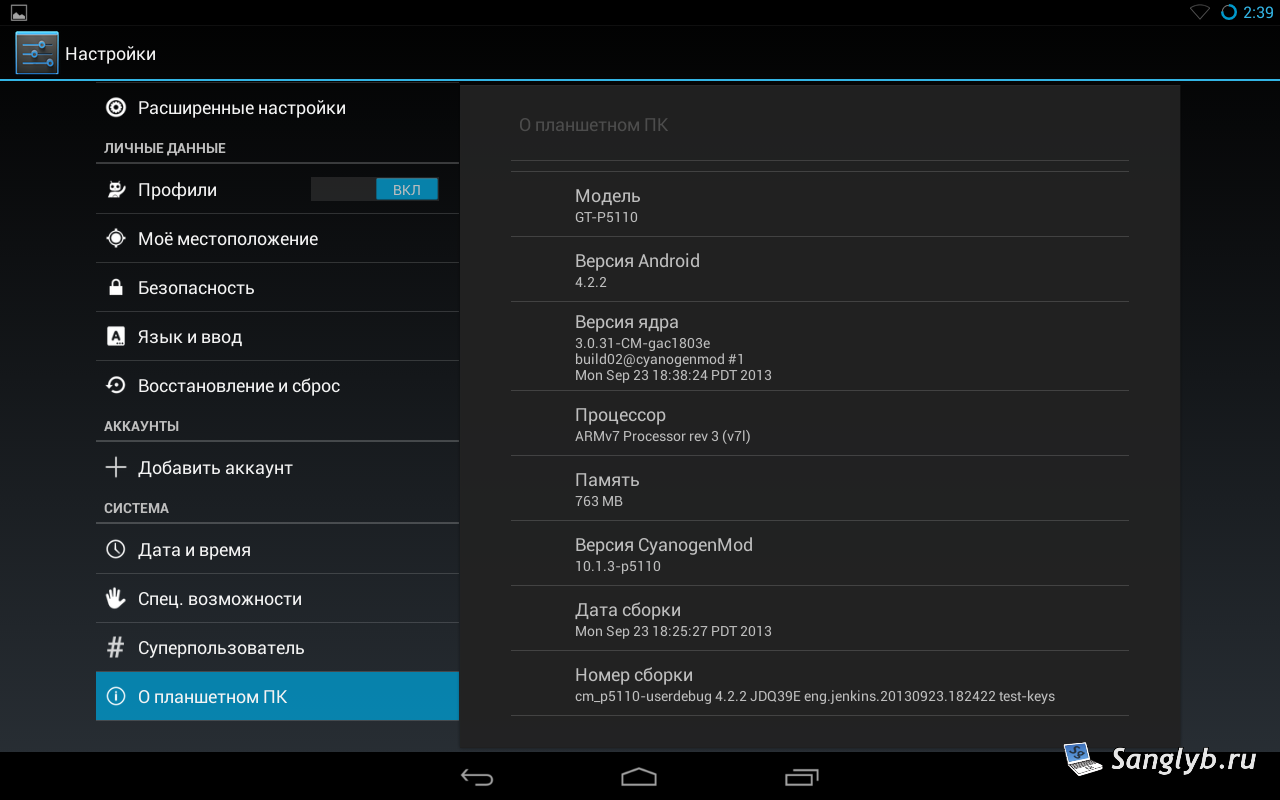
Getting Started: Identifying Your Device
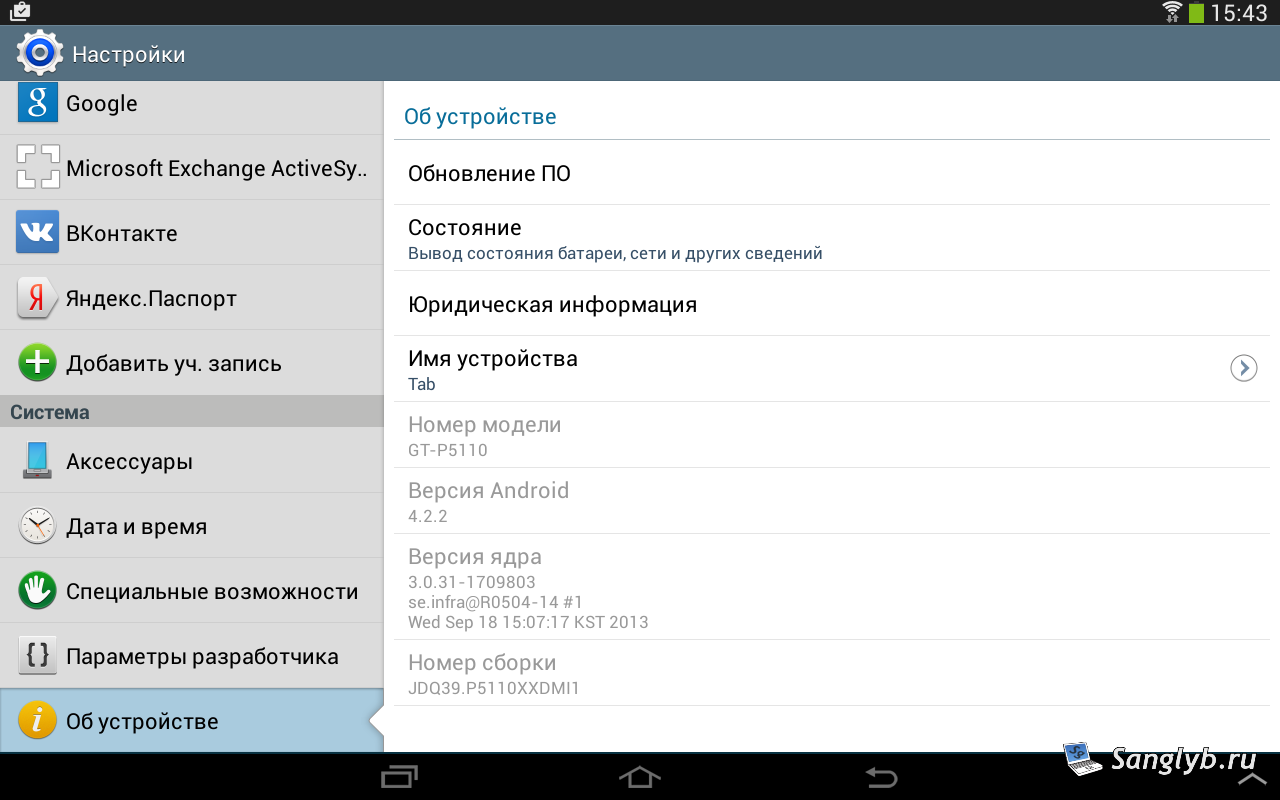
First things first, confirm your tablet's model by navigating to "About Device" in your system settings. In our example, we'll use the P5110 model.
What You'll Need: Essential Downloads
Prior to proceeding, ensure you have the following crucial software and files ready:
- Samsung USB Drivers
- Odin3 - a tool for custom recovery installation
- TWRP (Custom Recovery) - select the version that corresponds to your tablet model (e.g., for 5110, for 5100)
- CyanogenMod - choose the stable version (e.g., 10.1) corresponding to your tablet model (e.g., for 5110, for 5100, for 5113)
- Google Apps - CyanogenMod excludes Google services; hence, download the version compatible with your selected CyanogenMod version.
I've also gathered all the necessary files for the firmware into an archive. For 5110, for 5100, but it's better to download the latest versions from the links above.
Preparing Your Tablet: Transferring Files
Copy the firmware and Google services files (in zip format) you've downloaded to your tablet's memory card. Place them in the root directory for easy access later.
Caution: Entering Download Mode
Before proceeding, ensure your tablet is in download mode:
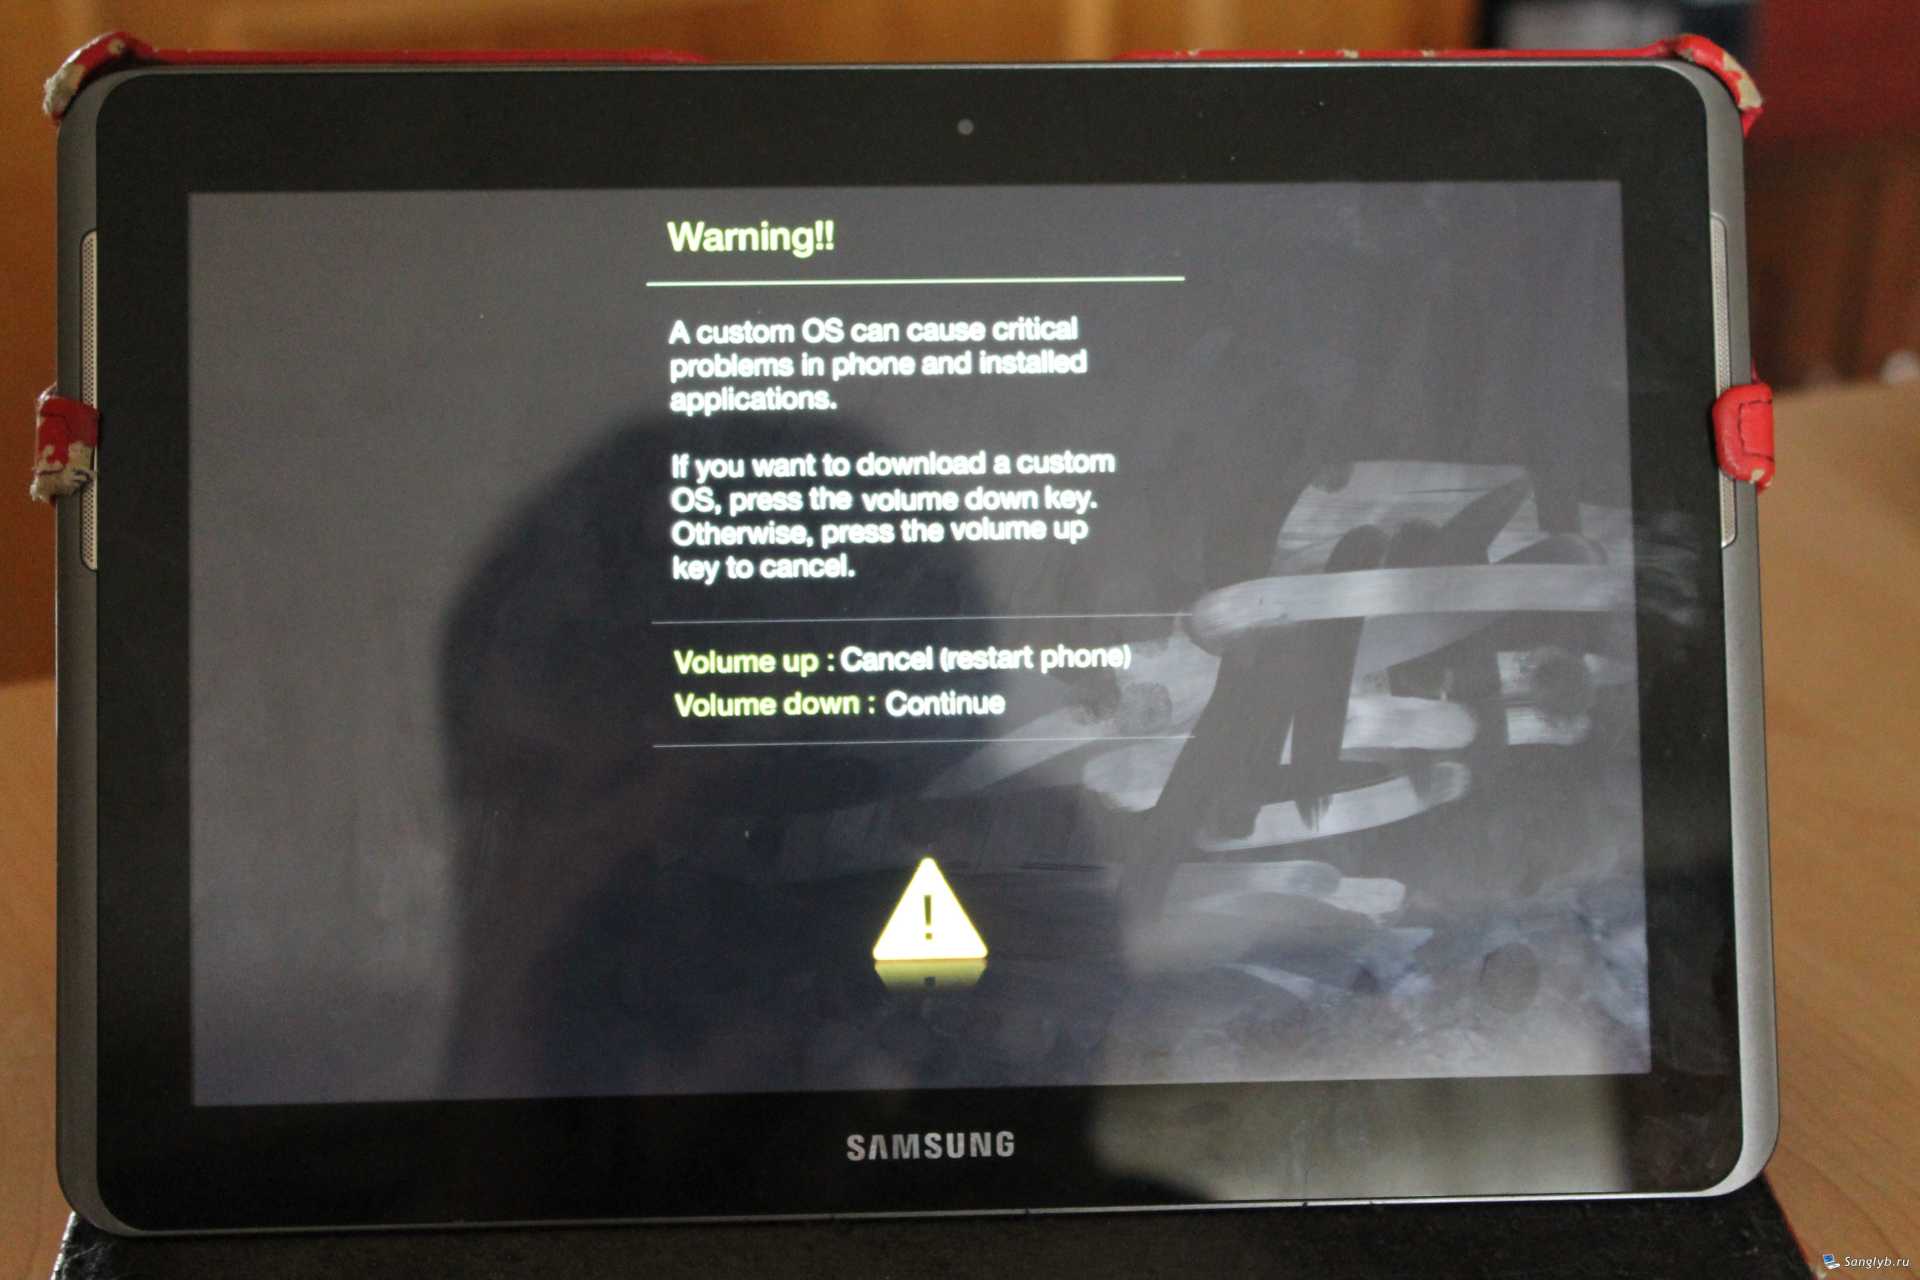
- Power off your tablet and wait until the screen completely turns off.
- Press and hold the volume up button (farthest from the power button) while turning on your tablet. You shuld see such alert:
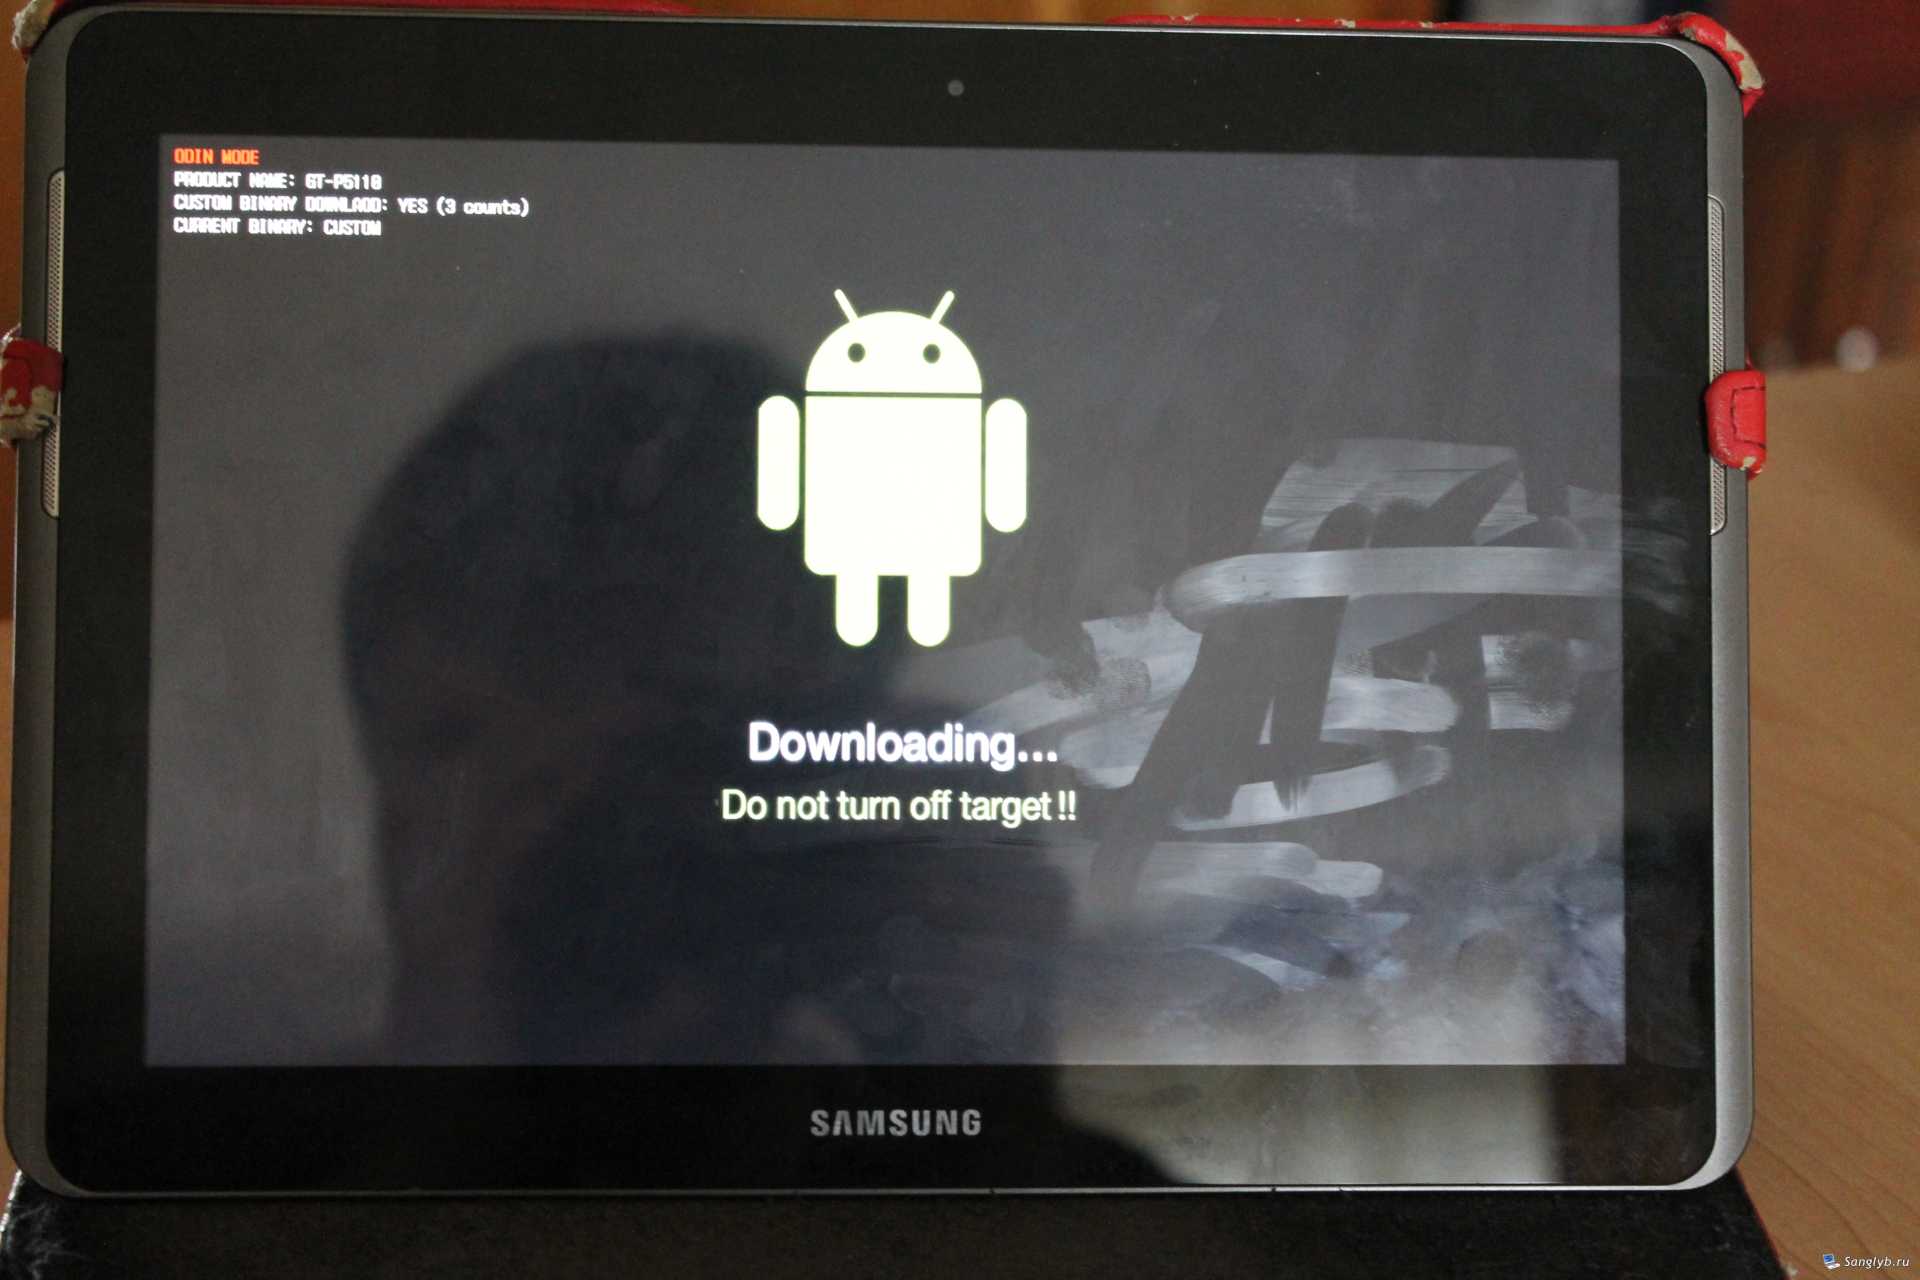
- Press the volume down button (the one closest to the power button). The tablet will enter download mode. Connect your tablet to PC with data cable.
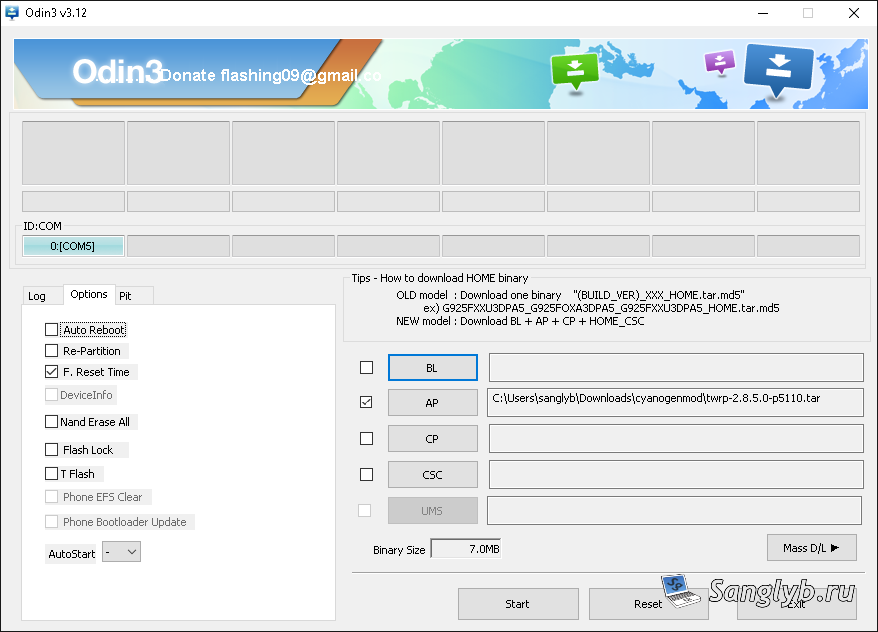
Flashing Custom Recovery: Using Odin3
- Fire up Odin3 on your computer and confirm that the ID:COM field isn't empty, indicating a successful connection with your tablet.
- Click the AP button, selecting the bootloader file matching your tablet model.
- Disable the "Auto Reboot" option in the Options tab.
- Hit Start and wait for the bootloader to be flashed onto your tablet.
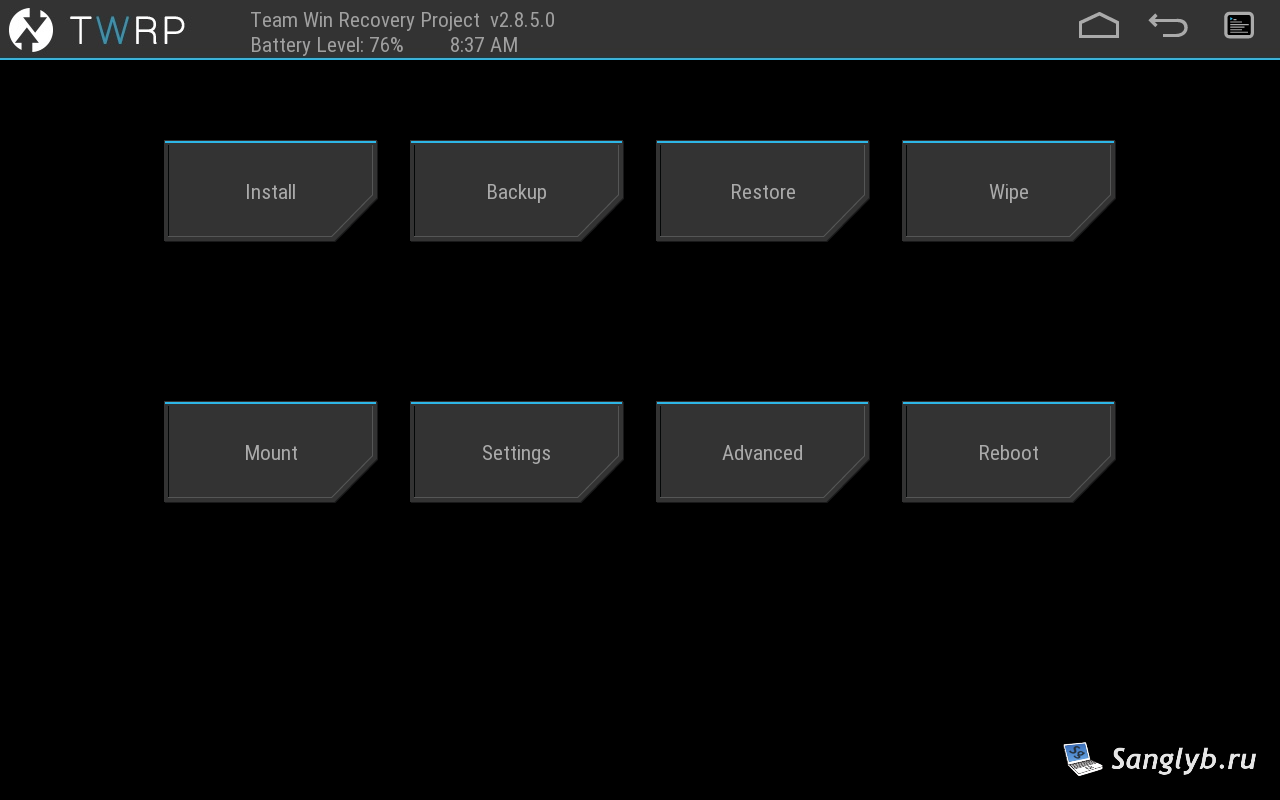
Booting into Recovery Mode: TWRP
- Disconnect your tablet from the computer and power it down.
- Activate Recovery mode by holding down the volume down button and the power button simultaneously.
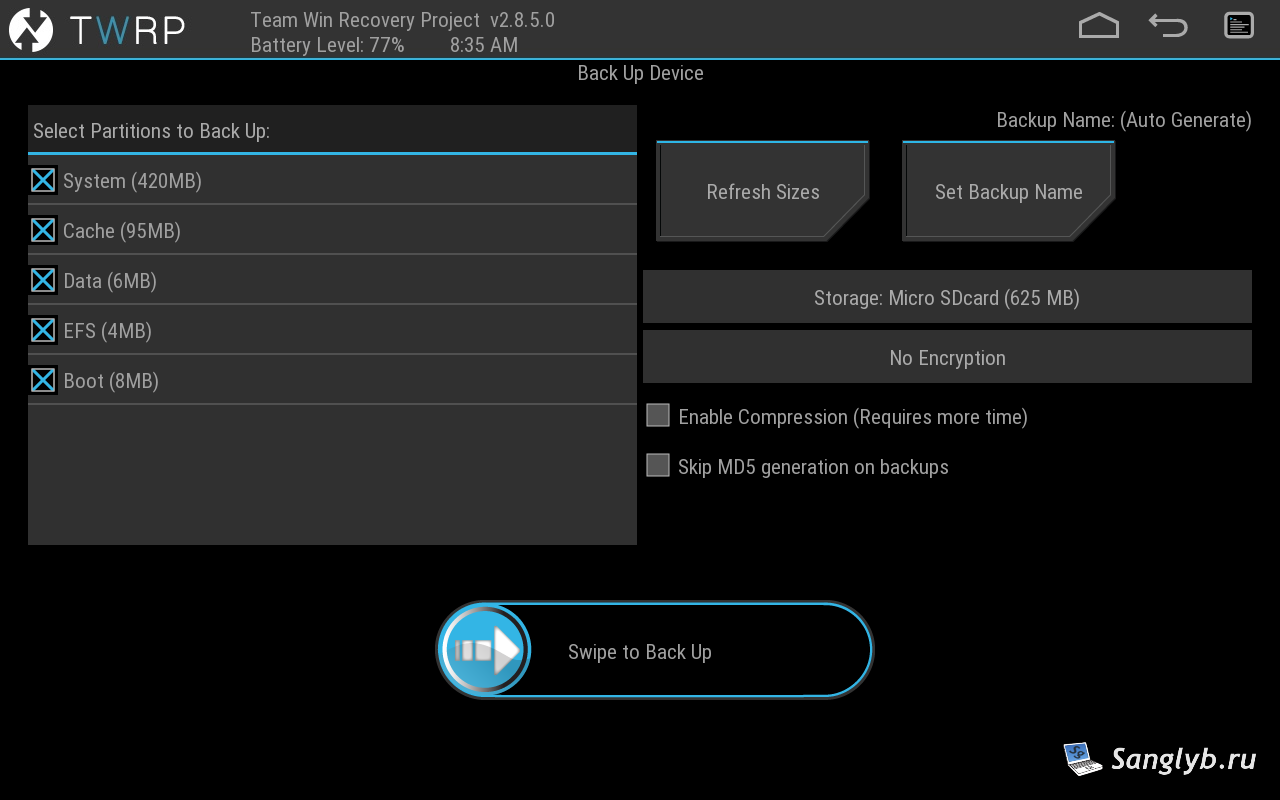
Creating a Backup: TWRP Recovery
- Prior to proceeding, craft a backup of your original system by selecting relevant partitions like System, EFS, Boot, Cache, and Data.
- Swipe to Back Up to initiate the backup process.
Installing CyanogenMod: Flashing the Firmware
- Return to the main screen and tap "Install."
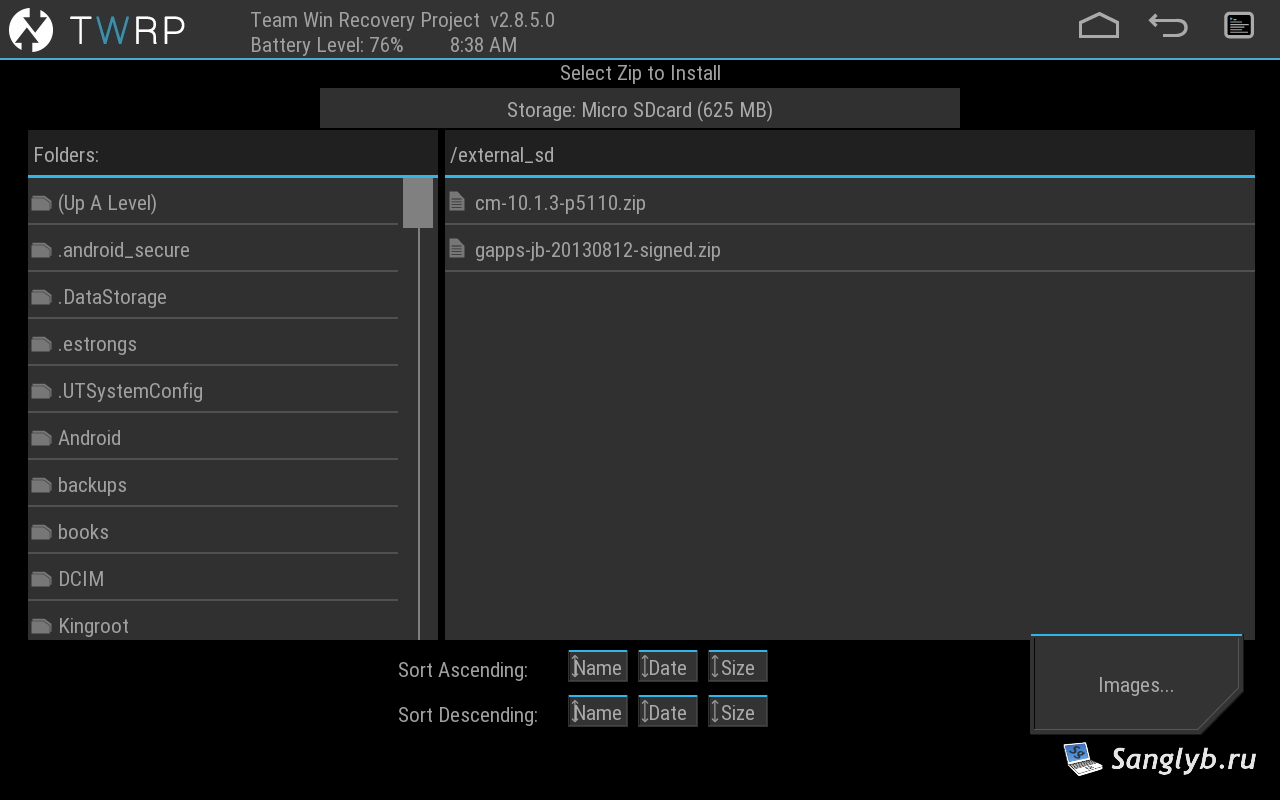
- Choose the CyanogenMod firmware file and commence the installation.
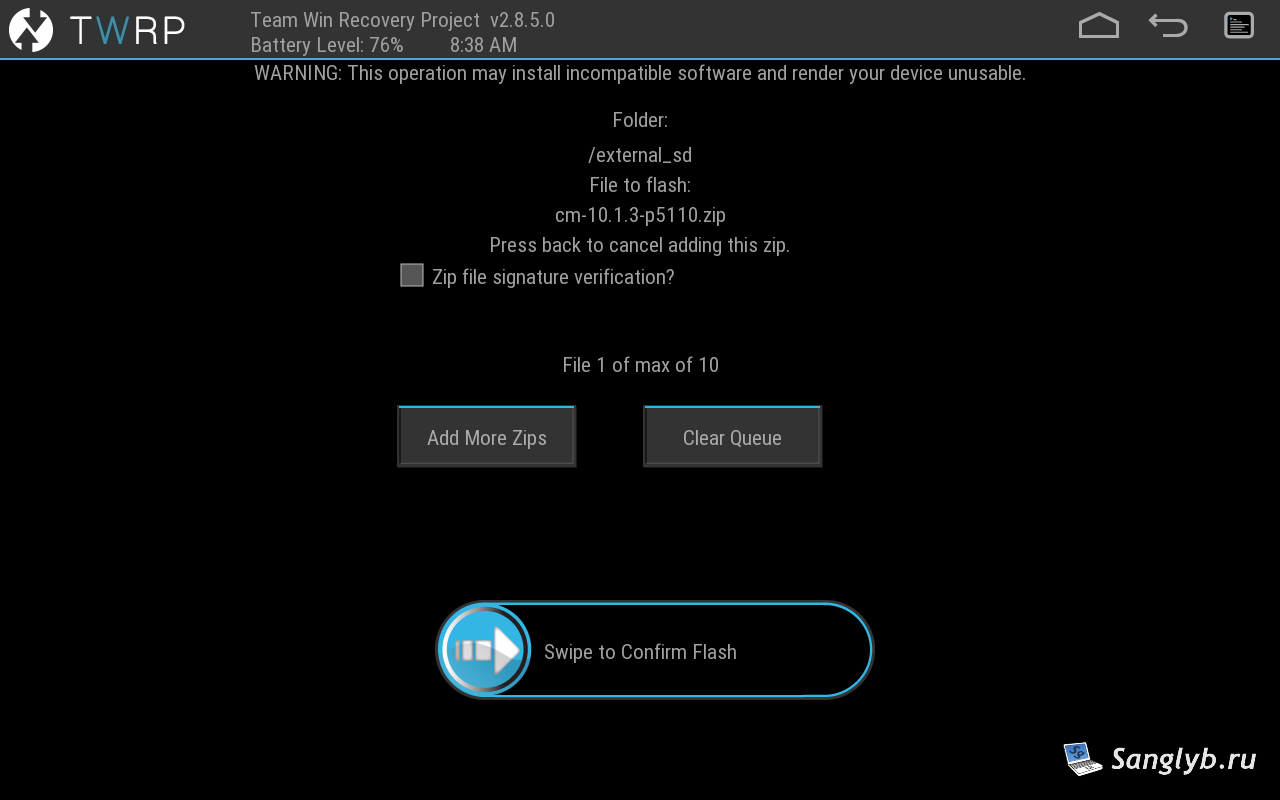
- After installation, return to the main screen.
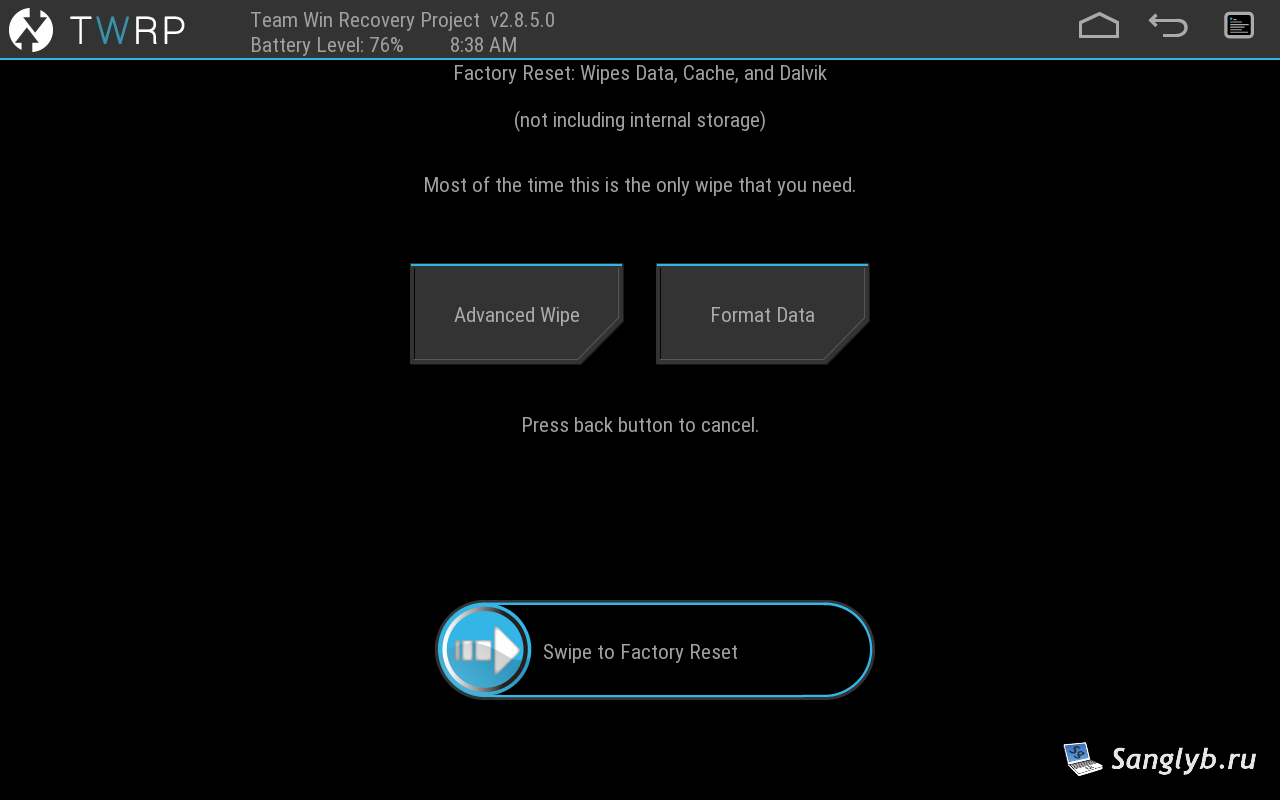
Factory Reset: Data Wipe
- Tap "Wipe" and perform a factory reset.
- Return to the main screen.
Installing Google Services
- Tap "Install" and select the Google services file.
- Install it and return to the main screen.

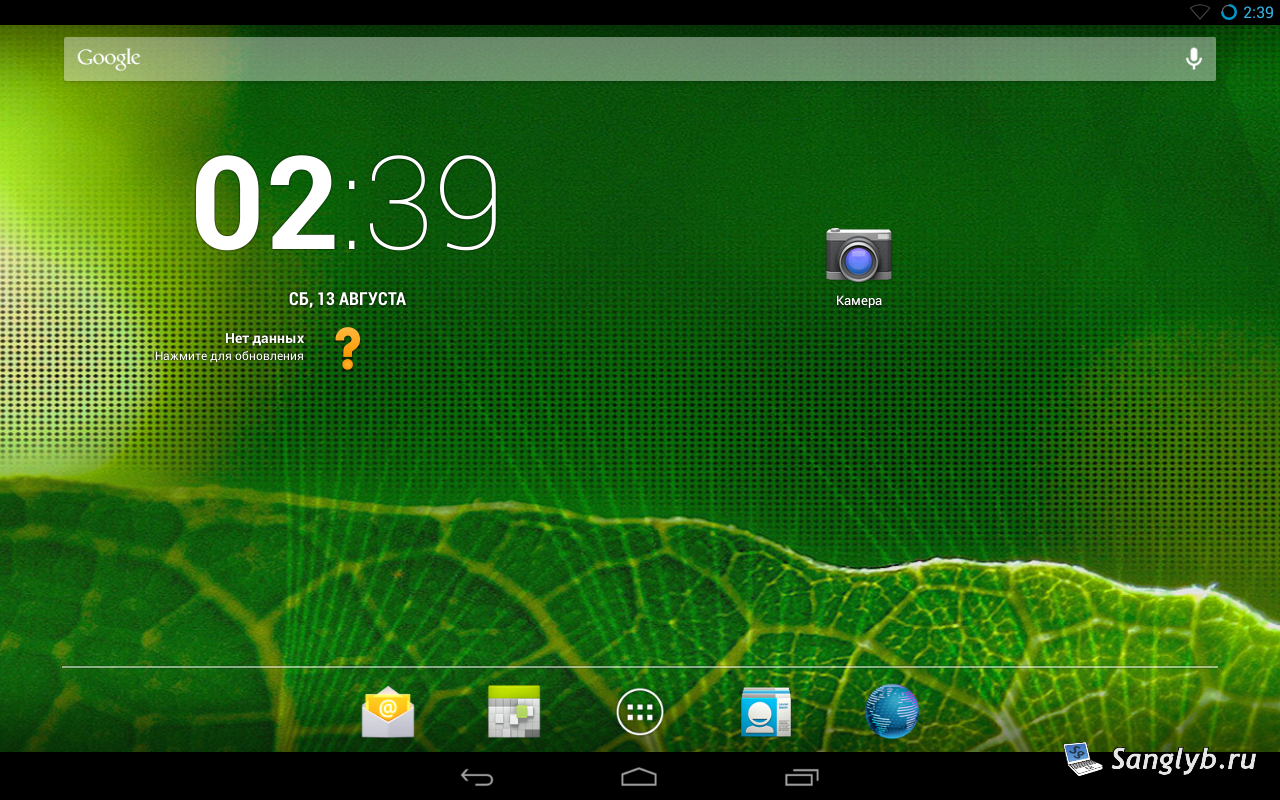
Congratulations! Your Samsung Galaxy Tab 2 is now equipped with CyanogenMod, breathing new life into it. Keep in mind that the initial boot may take some time. For troubleshooting or more information, consult online resources or seek professional assistance.
Note: As CyanogenMod is no longer supported, consider reverting to the stock firmware for Android 4.0.3/4.0.4 for an alternative performance boost.
Share the article with your friends in social networks, maybe it will be useful to them.
If the article helped you, you can >>thank the author<<