
In a previous article, we explored the power of the sysprep utility for Windows virtual machine creation. Today, we'll delve deeper, focusing on how to create a custom virtual machine template tailored specifically for Web Hosting Control Panels, with WebSitePanel as our example
Mastering the Process:
Just like before, our journey begins with the essentials: creating a virtual machine, OS installation, updates, software setup, and crafting the critical unattend.xml answer file. Here's a peek into this crucial configuration file:
<?xml version="1.0" encoding="utf-8"?> <unattend xmlns="urn:schemas-microsoft-com:unattend"> <settings pass="windowsPE"> <component name="Microsoft-Windows-International-Core-WinPE" processorArchitecture="amd64" publicKeyToken="31bf3856ad364e35" language="neutral" versionScope="nonSxS" xmlns:wcm="http://schemas.microsoft.com/WMIConfig/2002/State" xmlns:xsi="http://www.w3.org/2001/XMLSchema-instance"> <SetupUILanguage> <UILanguage>en-US</UILanguage> <WillShowUI>Never</WillShowUI> </SetupUILanguage> <InputLocale>en-US</InputLocale> <SystemLocale>en-US</SystemLocale> <UILanguage>en-US</UILanguage> <UserLocale>en-US</UserLocale> <UILanguageFallback>en-US</UILanguageFallback> </component> <component name="Microsoft-Windows-Setup" processorArchitecture="amd64" publicKeyToken="31bf3856ad364e35" language="neutral" versionScope="nonSxS" xmlns:wcm="http://schemas.microsoft.com/WMIConfig/2002/State" xmlns:xsi="http://www.w3.org/2001/XMLSchema-instance"> <UserData> <ProductKey> <Key>XXXXX-XXXXX-XXXXX-XXXXX-XXXXX</Key> <WillShowUI>OnError</WillShowUI> </ProductKey> <AcceptEula>true</AcceptEula> </UserData> </component> </settings> <settings pass="oobeSystem"> <component name="Microsoft-Windows-International-Core" processorArchitecture="amd64" publicKeyToken="31bf3856ad364e35" language="neutral" versionScope="nonSxS" xmlns:wcm="http://schemas.microsoft.com/WMIConfig/2002/State" xmlns:xsi="http://www.w3.org/2001/XMLSchema-instance"> <InputLocale>en-US</InputLocale> <SystemLocale>en-US</SystemLocale> <UILanguage>en-US</UILanguage> <UILanguageFallback>en-US</UILanguageFallback> <UserLocale>en-US</UserLocale> </component> <component name="Microsoft-Windows-Shell-Setup" processorArchitecture="amd64" publicKeyToken="31bf3856ad364e35" language="neutral" versionScope="nonSxS" xmlns:wcm="http://schemas.microsoft.com/WMIConfig/2002/State" xmlns:xsi="http://www.w3.org/2001/XMLSchema-instance"> <OOBE> <HideEULAPage>true</HideEULAPage> <NetworkLocation>Work</NetworkLocation> <ProtectYourPC>1</ProtectYourPC> </OOBE> <TimeZone>Russian Standard Time</TimeZone> <RegisteredOrganization>sanglyb</RegisteredOrganization> </component> </settings> <settings pass="specialize"> <component name="Microsoft-Windows-Shell-Setup" processorArchitecture="amd64" publicKeyToken="31bf3856ad364e35" language="neutral" versionScope="nonSxS" xmlns:wcm="http://schemas.microsoft.com/WMIConfig/2002/State" xmlns:xsi="http://www.w3.org/2001/XMLSchema-instance"> <ProductKey>XXXXX-XXXXX-XXXXX-XXXXX-XXXXX</ProductKey> <CopyProfile>true</CopyProfile> </component> </settings> </unattend>
Ensure this file resides in C:\Windows\System32\Sysprep. Next, let's install the .NET Framework. Execute the following command:
DISM /Online /Enable-Feature /FeatureName:NetFx3 /All /Source:D:\Sources\sxs
With .NET Framework in place, it's time to integrate the Hyper-V WebSitePanel management service. Download it, place it in your chosen directory (e.g., C:\Windows), and run the install.bat file.
Important Note: In my archive, I've adjusted a specific configuration parameter:
<add key="Service.StartupDelay" value="10000"/>
By default, it's set to 0. Keeping it at 0 leads to the virtual machine repeatedly rebooting about 40 seconds after startup.
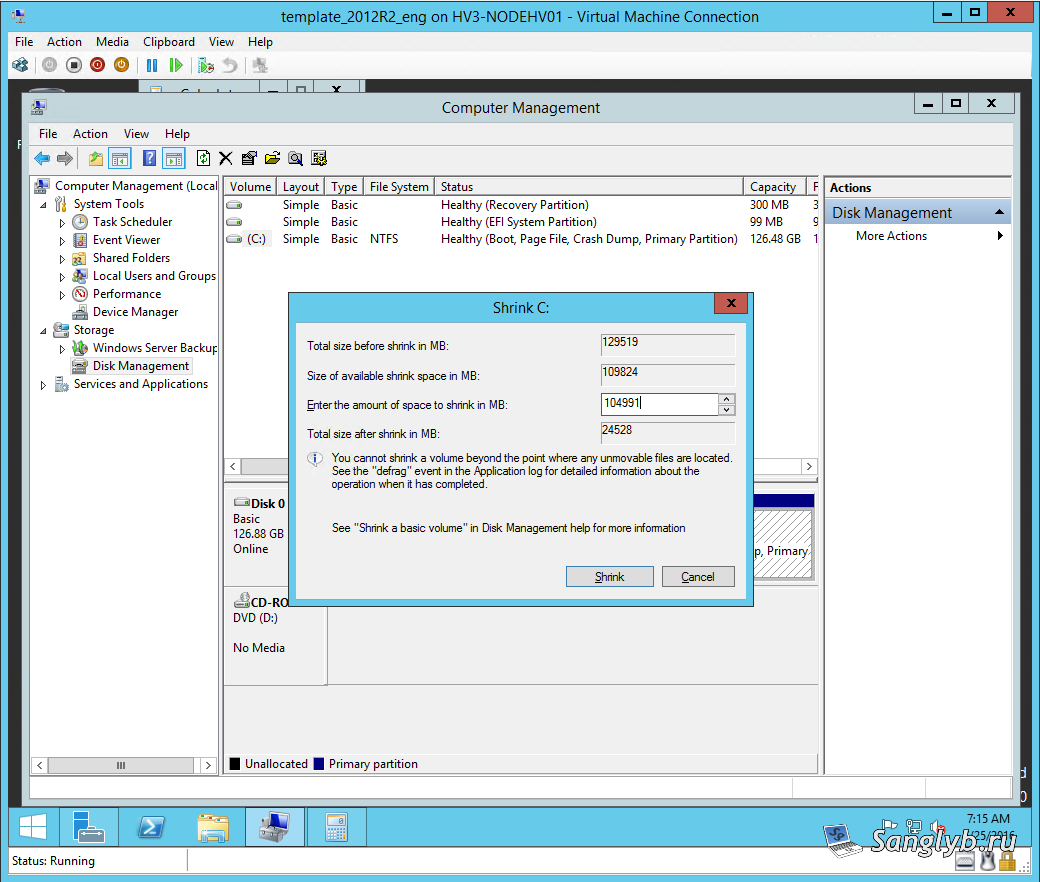
Moving forward, we must trim down the virtual machine's disk size. In the Computer Management console, navigate to Disk Management, right-click the C: drive, and select Shrink Volume. Specify the size you wish to remove from the system disk, keeping it minimal. Then, power off the virtual machine.
Now, access your machine's properties, select the disk, choose "Shrink," input the minimum disk size, and proceed. This action reduces the maximum disk size.

Snapshot Your Progress:
Before proceeding, I recommend creating a snapshot of your machine. This safeguards against the need to repeat the previous operations in case of any issues.
Final Steps with Sysprep:
Start your machine, open the command prompt, navigate to C:\Windows\System32\Sysprep, and execute the following command:
sysprep.exe /oobe /generalize /shutdown /unattend:unattend.xml
Once the image is prepared, launch your virtual machine. Without logging into the system, turn it off.
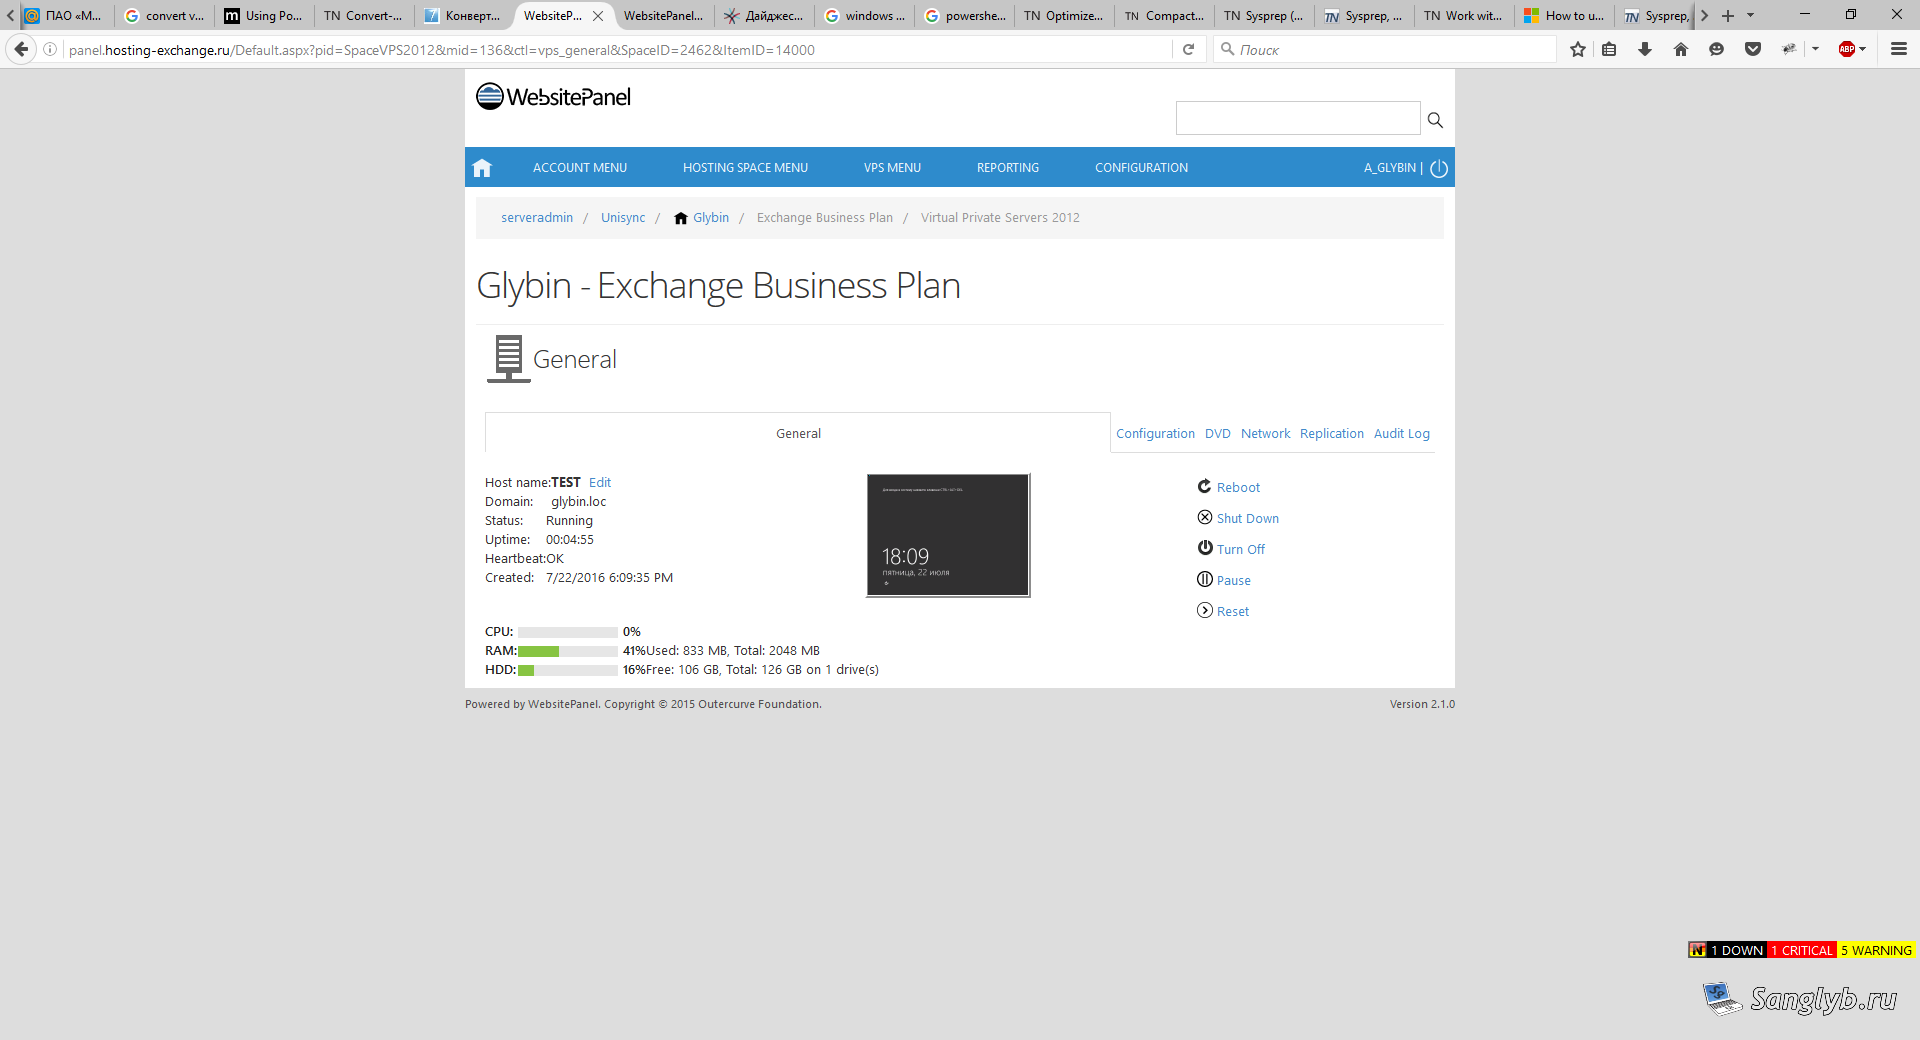
With your template now created, the final step is to add it to the server in WebSitePanel. You're now fully equipped to begin creating VPS instances.

PS: While starting the machine after sysprep isn't ideal, it's necessary for seamless functionality with Hyper-V from WebSitePanel. Skipping machine startup would result in no assigned IP address or administrator password when creating a machine from the panel.
For a visual guide on this process, be sure to watch our accompanying video tutorial:
Share the article with your friends in social networks, maybe it will be useful to them.
If the article helped you, you can >>thank the author<<