
Hello to all database enthusiasts! Today, we dive into a prevalent issue many face with Microsoft SQL Server – the notorious Error: 5178. If you've seen this error:
Error: 5178, Severity: 16, State: 1.
Cannot use file 'c:\Program Files\Microsoft SQL Server\MSSQL13.SQLEXPRESS\MSSQL\DATA\master.mdf' because it was originally formatted with sector size 4096 and is now on a volume with sector size 3072. Move the file to a volume with a sector size that is the same as or smaller than the original sector size.
You'll understand the struggle. But fear not! This blog will guide you step-by-step to resolve this Microsoft SQL Server error using a virtual hard drive technique.
Why Does This SQL Server Error Happen?
In simple terms, the server can't start because there's a mismatch in sector sizes. An old hard drive, among other reasons, can be the culprit. Thankfully, you can fix this without a system reinstall.
The Virtual Hard Drive Solution for SQL Server
1. Locate the Affected Folder:
First, access the MSSQL folder of your SQL Server instance (e.g., c:\Program Files\Microsoft SQL Server\MSSQL13.SQLEXPRESS\MSSQL). Rename the DATA directory to DATA.old.
2. Virtual Hard Drive Creation:
Open Control Panel → Administrative Tools → Computer Management. In Disk Management, initiate the creation of a virtual hard drive.

3. Size & Location:
Allocate sufficient space for your databases on this new drive.

4. Initialization & Formatting:
Initialize the new disk and format it, setting the cluster size to 4096 bytes.


5. Mount volume:
Mount your drive as emtpy NTFS folder and set sector size to 4096.


5. Transfer Data:
Shift all content from DATA.old to your new DATA directory.
6. Setting Permissions:
Proper file permissions are vital. Use the command line to check and grant full access to the user NT SERVICE\MSSQL$InstanceName for all files within the DATA directory.
To check original permissions:
icacls DATA.old\*

To set them use:
icacls DATA\* /grant «NT SERVICE\MSSQL$SQLEXPRESS»:F
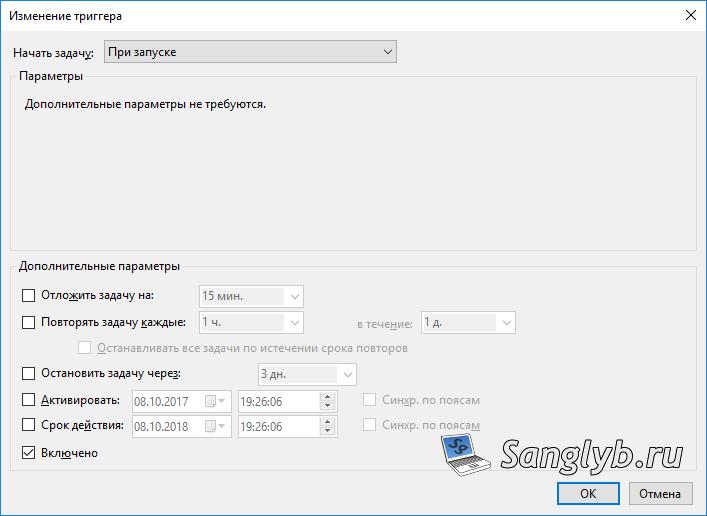
7. Automate on Startup:
Check if MSSQL service now can be started without issues. If so, to ensure smooth operations upon system start, create and schedule a task to mount the virtual disk and start the SQL Server. To do it create a file attach.txt:
select vdisk file="C:\vhds\mssql.vhd"
attach vdisk
And start-sql.bat:
diskpart /s "C:\vhds\attach.txt"
ping -n 10 127.0.0.1
net start mssql$instanceName
Don't forget to change mssql$instanceName to your's, for example to mssql$sqlexpress.
Add created script to Task Scheduller.


Finally, restart your computer. If everything's set up correctly, MSSQL should initiate seamlessly!
Wrapping Up
This virtual hard drive solution can save the day for many Microsoft SQL Server users. It's one of the many ways we can troubleshoot and optimize our databases. If you found this guide helpful, don't forget to share and comment!
Share the article with your friends in social networks, maybe it will be useful to them.
If the article helped you, you can >>thank the author<<