
In this article, I'll show you how to install phpmyadmin on Ubuntu. Phpmyadmin is a database management tool for MySQL. With it, you can manage databases, user tables, and so on. Even without the knowledge of MySQL.
The installation of phpmyadmin is very simple, the requirements for it are set by LAMP:
Put this commands in terminal:
sudo apt-get install phpmyadmin
During the installation we answer questions, namely we indicate that MySQL is installed, and enter the root password for MySQL.
After installation, you need to fix the configs.
1) For Apache would know about phpmyadmin you need to add a line to the end of the file /etc/apache2/apache2.conf:
Include /etc/phpmyadmin/apache.conf
2) For security reasons, it's better to restrict access to phpmyadmin, for example we will allow access only from our local subnet (192.168.1.0), for this, add the lines to the file /etc/phpmyadmin/apache.conf, after the <Directory /usr/share/phpmyadmin> instruction :
Order Deny,Allow
Deny from All
Allow from 192.168.1.0/24
In the same file, you can change the phpmyadmin address, To do this, you need to change / add Alias.
After config changes, you need to restart Apache:
sudo /etc/init.d/apache2 restart
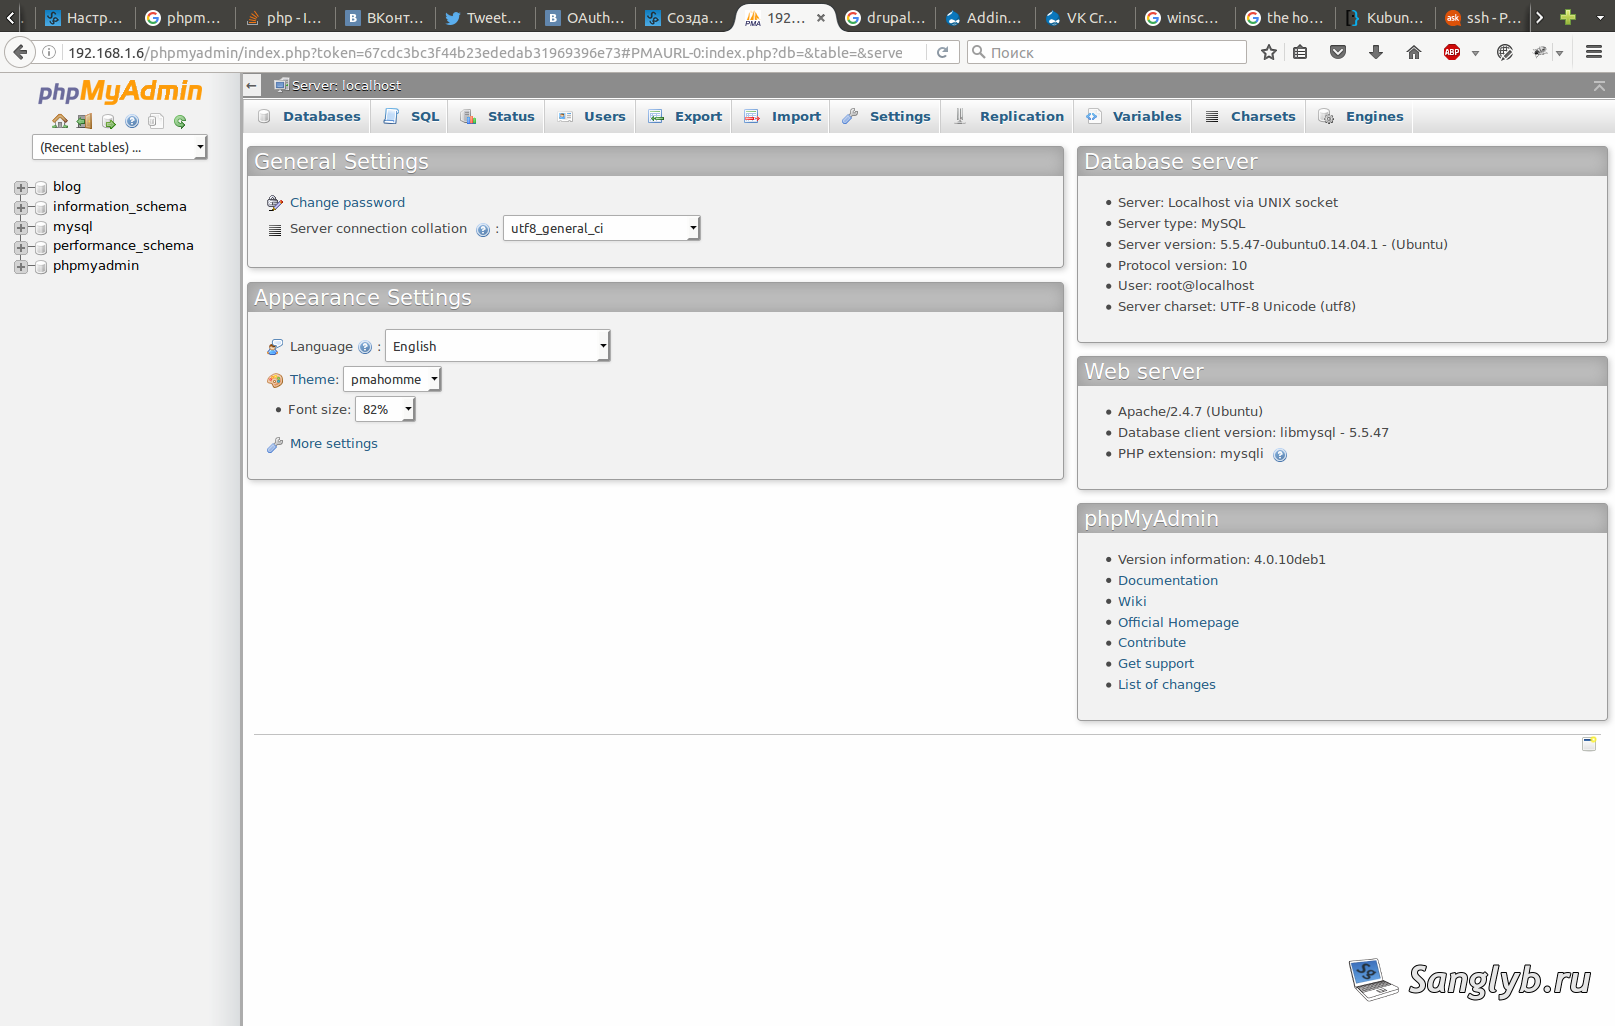
Thats all, phpmyadmin installation in Ubuntu is over, you can go to http://server_address/phpmyadmin (user, if you did not change anything in mysql - root, the password was the one you set during installation) and work with databases.
Share the article with your friends in social networks, maybe it will be useful to them.
If the article helped you, you can >>thank the author<<